CEO Update: A Message from George Yammouni
A steady but cautious start to 2026 sees stabilising Australian conditions, strong momentum in New Zealand, and continued investment in people, capability, and customer experience.
Log in to MyHeadland – your new customer portal | No access yet? Email marketing@headland.com.au
Whether you’re after a machine, spare part, power tool, or need to book a service call Headland will help you find the right solution in a timely manner.
Fill out the form below and the relevant expert will be in touch with you shortly.
VM Automotive is a specialist materials company, they provide a blanking service in aluminium and steel to automotive OEMs such as Mercedes-Benz and BMW. The company is Tier 1 supplier, 100% black empowered and privately owned, with plants based in Rosslyn and Berlin. Early in 2019 the company was awarded the contract for the Mercedes-Benz W206 series. They had previously been supplying Mercedes-Benz with the W205 series, which was the outgoing C-Class series. To service this new contract, they set about building a new plant in Berlin, located near the Mercedes-Benz plant in East London, Eastern Cape. The project was three years in the planning stage.
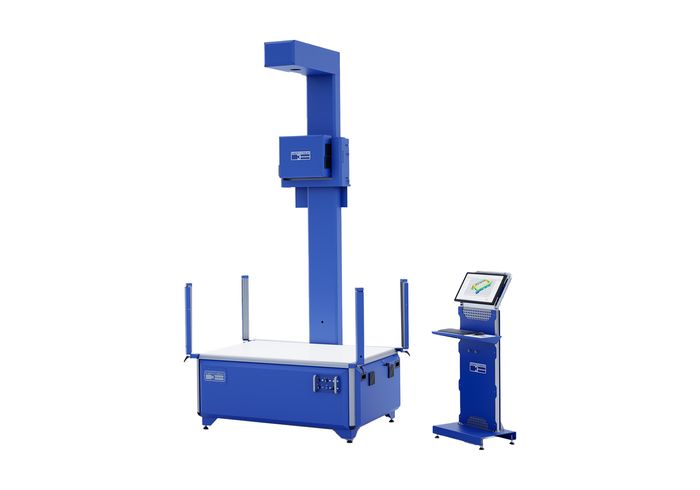
VM Automotive found the right sheet metal production equipment, to source the machinery they needed for the new plant. In addition to a new blanking line, they needed to source an automated inspection system for quickly and accurately measuring the parts. Previously, sheet metal part inspection was carried out using a tape measure, a method that was both inaccurate and slow, resulting in a lot of time being wasted. This is where InspecVisions’ based measurement system came into play. InspecVision’s capability and thought the Planar 2D would be the perfect automated inspection machine for VM Automotive. After initial discussions, this was confirmed to be the case as InspecVision had already supplied their optical 2D part scanner to other metal blanking suppliers in the automotive industry in Europe and Asia. VM Automotive ordered the Planar P1200.100 model, InspecVision’s largest 2D metrology tool with a measuring area of 6 x 2 metres.
InspecVision faced its biggest challenge when the Covid-19 global pandemic struck. Installation, commissioning, and training were planned to be performed by InspecVision engineers but due to travel restrictions, this became impossible. Finding ways of instructing and training the service technicians to perform their tasks was difficult but with the art of modern communication not impossible. Video conferences took place between InspecVision engineers and the technicians. InspecVision prepared excellent printed documentation as well as video tutorials, instructing the staff to assemble and commission the 6 x 2-metre camera system. The training was given by the metrology applications engineer, after receiving instructions from InspecVision. The cooperation and the material received to perform these tasks by InspecVision were excellent and themetrology equipment was successfully commissioned in time for the customer’s first parts from the Schuler laser blanking line.
VM Automotive’s Quality Manager, Dakalo Kutama, and his team of quality inspectors use the precision measuring instrument three times a day for laser-quality control, typically inspecting thirty to forty sheet metal parts per week. The machine is used to do first-off release for three shifts. Previously it was taking ten to twenty minutes to inspect a single part and the results were often inaccurate so “it was easy to justify the InspecVision dimensional measurement system given the improvements in production efficiency and quality.” Mr. Kutama said they have only required support from their local distributor or InspecVision once a year for calibration and whenever they had a technical issue the support has “been great”.
Sheet Metal inspection equipment will help you with quality control. From the initial idea to concrete implementation – our experts are here to help and happy to talk to you about InspecVision systems and the right system for your unique manufacturing needs.
Whether you’re after a machine, spare part, power tool, or need to book a service call Headland will help you find the right solution in a timely manner.
Fill out the form below and the relevant expert will be in touch with you shortly.
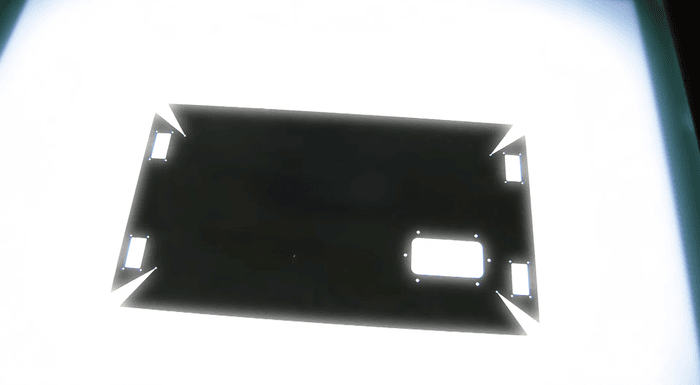
Planar 2D allows manufacturers to quickly verify product quality by performing 2D inspections, CAD comparisons and reverse engineering.
Sheet metal inspection machines for sale in Australia and New Zealand from InspecVision. Reduce waste and automate your inspection process.

